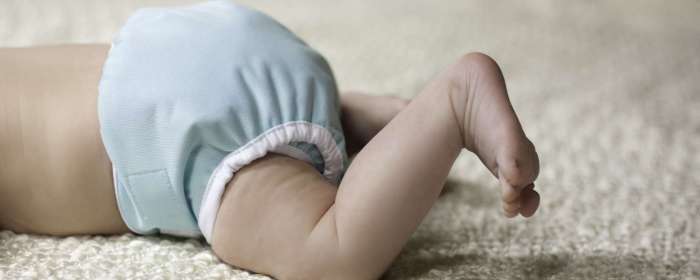
How to Diaper a Newborn with Prefolds

Diapering your baby with Cloth Prefold Diapers is easy!
Here are step-by-step instructions with pictures, that nicely illustrate how to fold Prefold Diapers for Newborns.
1. To start, you will need a Newborn Prefold Diaper and Newborn Diaper Cover.
2. Fold one side of your prefold diaper into the middle – folding with the prefold.

3. Fold the other side of your prefold diaper into the middle – folding with the prefold.

4. Get out your newborn prefold diaper cover.

5. Place folded prefold diaper down the middle of the diaper cover with seam-side down.

6. Pull out the top right back edge of your prefold diaper to create a cloth tab.

7. Pull out the top left back edge of your prefold diaper to create a second cloth tab.

8. Fold down the front of your prefold diaper so that it fits within your diaper cover.

9. Your prefold diaper and cover are now pre-loaded and ready for your baby.

10. Place your baby on top of your cloth prefold diaper that has been loaded into your cover.

11. Pull the front of the cloth prefold diaper up between your baby’s legs so that it rests on your baby’s waist.

12. Secure your prefold diaper in place with your diaper cover.

Be sure to check the gussets and edges of your baby’s diaper cover. Tuck any cloth that is sticking out back into the waterproof diaper cover.
More Helpful Hints From Mother Nature’s Diaper Service:
How often should I change by baby?
Whatever kind of diaper you use, cotton or disposable, babies should be changed every two hours or so. Bacteria begins to form as soon as a child wets or soils and leaving a diaper on a baby for prolonged periods not only produces irritation but can compromise the skin to the point of serious infection. Dry does not mean clean and the waste absorbed by the chemicals used in disposables stays right next to your baby’s skin. Chemicals are not a substitute for the attention and care babies need to stay healthy.
Diaper Rash Ointments and Cloth Diapering
When deciding on a diaper rash cream, be sure to choose a product that won’t block the absorbency of your cloth diaper. That means avoiding products like Desitin & A+D Original Ointment! They are petroleum-based and designed to repel water. Once petroleum-based products rub on the fibers of your cloth diaper, a water-proof barrier will form in compromised areas and cause it to leak.
Use diaper rash products that are considered cloth diaper safe, like coconut oil or LuSa Organics Booty Balm. These products are made with natural and/or organic ingredients that breathe and can be easily washed out of cloth diaper fibers.
Removing Poop Stains From Diaper Covers
Poop is definitely going to happen! On occasion, you may end up with poop on the fabric of your cloth diaper cover. We recommend that you wash your diaper covers soon after staining appears on the fabric.
With poop stains, you may be tempted to get out the “big laundry guns” like Shout or Oxyclean and attack the staining. Unfortunately, these products are too harsh for cloth diaper covers and could break down the vinyl.
For stubborn poop stain removal, we recommend you try the following:
- Soak the cover in warm (not hot) water for at least 30 minutes.
- Then, gently rub 2-3 drops of Blue Dawn Dishwashing detergent.
- If the stain won’t budge, try scrubbing the area with a toothbrush.
- Throw the cover in with your normal wash and wash in cool/warm water.
- Lastly, let the cover air dry in sunny area. The sun naturally whitens stained fabrics!

